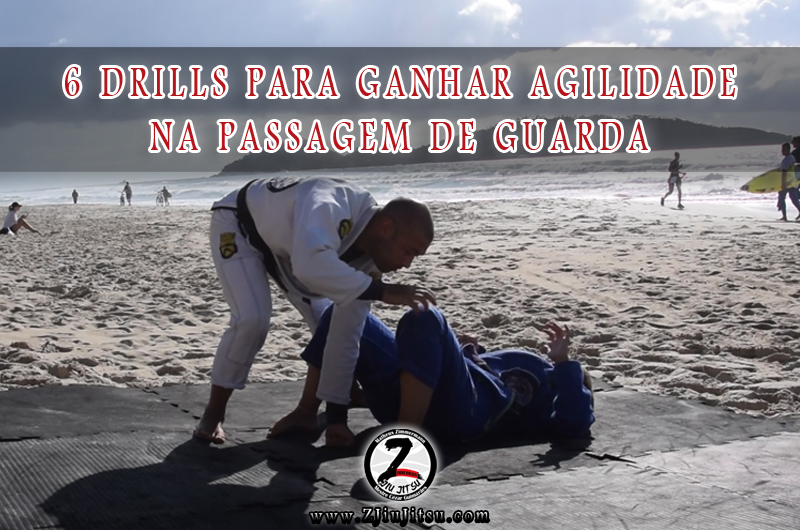
How is your guard passing going? In today's video lesson we have 7 drills to improve your guard pass.
The movements in this video lesson are also used in our kids' classes. Besides helping them understand how to pass the guard, they build motor coordination, agility and reflexes in our little jiu-jiteiros.
Below I explain the seven movements in detail, and if you have any questions, get in touch!
Ready for another video lesson? Let's go!
Video lesson – 7 drills to improve your guard passing!
Drill 1


In this first drill, the goal is to improve your agility moving from one side of your opponent to the other. Pay attention to your footwork, avoid taking too many steps and always keep your base on your opponent's knees.
Drill 2


Pick a side to start. Say we start on our opponent's right: place your left fist on the mat and your right hand on your opponent's left knee. Just like in the previous drill, the goal is to move from one side of your opponent to the other, but this time you switch hands as you change sides.
Drill 3


Unlike the previous drills, in this movement the guard pass is done with your knees on the mat. When your opponent lifts a leg to play guard, hug the leg and put your head behind their knee. Look up to keep your spine straight and put more pressure on your opponent. Your other hand can help push the bottom leg down, and then you just pass to the other side over the shin.
Drill 4


In the fourth drill of this video lesson with 7 drills to improve your guard passing, we rep the entry to the Leg Drag pass. For those who don't know the movement yet, the goal is to throw your opponent's leg to the opposite side of your hips, making it hard for them to recover guard. Remember to keep your torso upright when you move their leg to the other side; this keeps their foot from getting caught in your gi and also reduces the pressure of their foot on your hips.
Drill 5


Drill 5 starts the same as the previous movement, but when you finish it, grip your opponent's knee with one hand and their shin with the other, then take a step back while pinning their leg to the mat. At this point your opponent will try to recover guard with the other leg, so you do the same movement as the third drill of our video lesson.
Drill 6


Known as the toreando pass, the goal is to grip your opponent's knees and push their legs towards their head. This takes strength out of their legs and makes it easier for you to throw their legs to one side and pass the guard to the other, stabilizing in knee on belly.
Drill 7


To wrap up our sequence of 7 drills to improve your guard passing, a simple movement that still demands a lot of agility and coordination. With both hands on your opponent's knees, step to the left, put your right hand on your opponent's right knee and touch the mat with your left hand. Come back to the starting position and repeat on the other side. In this drill it's important to keep looking forward and coordinate your hands so you always keep at least one hand on one of your opponent's knees.
Remember that the movements should be done as fast as possible, but without losing the technical details of the positions.
Did you enjoy the video lesson? If you still have any questions after watching it and reading the details above, leave a message below or on my social media and I'll answer soon.
Big hug and good training!
OSSSS

Jiu-Jitsu video lessons, articles and stories with Matheus Zimmermann
The teacher → Private class or seminar →